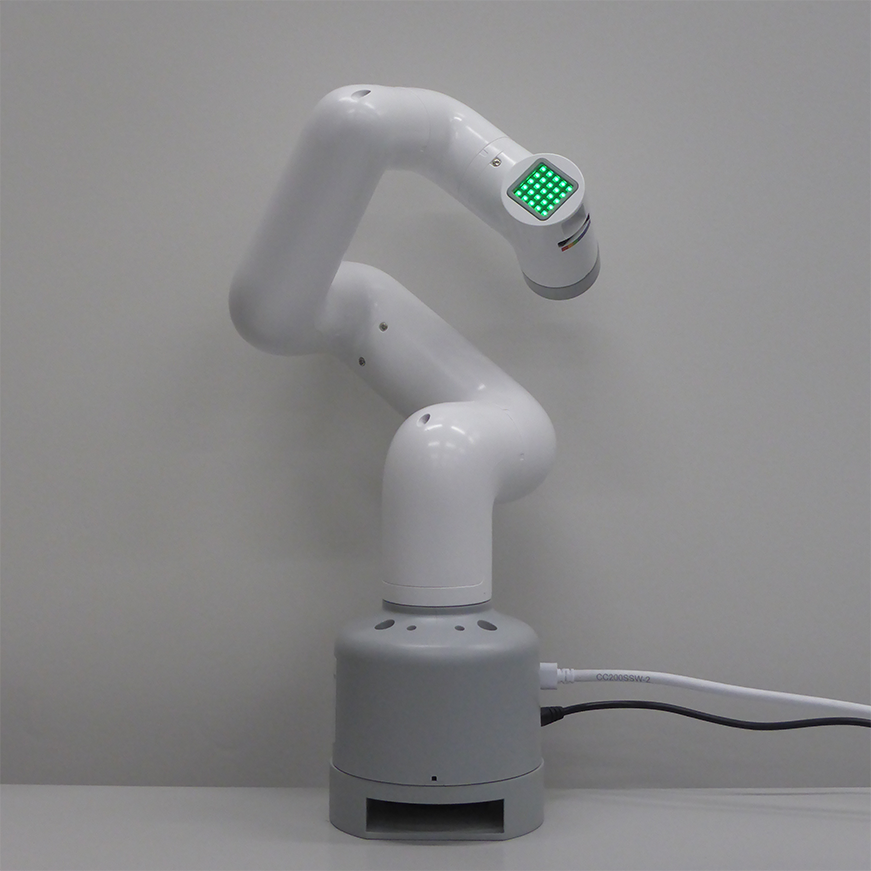
ロボットアーム myCobot 280
myCobot の Python API を WoT化し、Thing として扱うための手順です。
本サンプルでは、WoTPy を使用して既存の Python API を Restful API として操作出来るようにする例として、myCobot を取り上げ WoT 化 を行います。
必要なもの#
- ハードウェア
- myCobot 280
- PCやRaspberry Piなど
- ソフトウェア
- Python 3.7 以降
- WoTPy (wotpy 0.16.0)
- pymycobot (2.6.1)
なお本サンプルでは、試験的実装段階の WoTPy を使用しているため、最新の情報や変更にご注意の上、ご利用ください。
本サンプルでは、wotpy 0.16.0, pymycobot 2.6.1 を使用しています。
最新の情報や詳細は、WoTPy GitHub や WoTPy のドキュメントをご確認ください。
myCobot のセットアップ#
今回は、myCobot に Transponder というファームウェアを書き込むことで、パソコンから Python API を用いて myCobot を操作します。ファームウェアの書き込みには、myStudio を使用することで、GUI 画面で書き込みが出来ます。
また、Python で myCobot を操作するために、pymycobot を使用します。
pip install pymycobot --upgradeその他、USB ドライバのインストールが必要な場合もあります。myCobot のセットアップ手順や詳しい説明に関しては、公式ページ等をご確認ください。
WoTPy を用いた Thing の作成例#
WoTPy を使用して Python で Thing を作成していきます。
今回は、プロパティでサーボモータの角度の取得、アクションでサーボモータの操作を行います。
本サンプルのコード例全体はこちらです。
また、WoTPy の GitHub 上のサンプルも合わせてご参照ください。
Thing Description の作成#
はじめに、Thing Description の作成を行なっていきます。モジュールの import や変数の初期化を行なった後の部分に注目します。
...TD = { "title": "mycobot", "id": "urn:wot:mycobot", "description": "This is a WoT example of mycobot using WoTPy.", "@context": [ 'https://www.w3.org/2019/wot/td/v1', ], "properties": { ...... }, "actions": { ...... }}...上記の部分でそれぞれ、プロパティとアクションの定義を行ないます。なお、セキュリティの定義については、何も定義していない場合、WoTPy では nosec が適用されます。
properties では、myCobot の6つのサーボモータの角度を取得することから、それぞれの角度を "type": "number" とし、 "minimum" と "maximum" をそれぞれ下記のように定義していきます。
... "properties": { "angle": { "type": "object", "properties": { "angle1": { "type": "number", "minimum": -165, "maximum": 165, }, "angle2": { "type": "number", "minimum": -165, "maximum": 165, }, ...... }, }, },...actions でもそれぞれのサーボモータの操作を行うために、properties と同様に定義するとともに、サーボモータを自由に移動できるようにするために、下記のようにサーボモータのロックを解除するアクションを "boolean" で定義します。
... "actions": { ...... "releaseServos": { "input" :{ "type": "object", "properties": { "release": { "type": "boolean", } }, }, }, },...Thing Description についての詳細は、 RaspberryPiでThingを作るや Web of Things (WoT) Thing Description をご覧ください。
Thing の生成と公開#
先ほど作成した Thing Description をもとに Thing を生成・公開します。
... exposed_thing = wot.produce(json.dumps(TD))...Handler の追加#
angles のプロパティが読まれた際に、Python API の get_angles() を使用して角度を取得する Handler の追加を行います。
...    async def angle_read_handler():        angles = mycobot.get_angles()
        ANGLES=({            'angle1': angles[0],            'angle2': angles[1],            ......        })
        return ANGLES
exposed_thing.set_property_read_handler('angles', angle_read_handler)...アクションでも同様に、sendAngles, releaseServos にそれぞれ POST された際の処理を追加します。ここでは、 send_angles(degrees, speed), release_all_servos() を使用し、myCobot の角度を指定して操作及び、サーボモータのロックの解除を行います。
下記は sendAngles のアクションの処理です。
...    async def sendAngle_action_handler(params):        params = params['input'] if params['input'] else {}
        resources = await exposed_thing.read_property('angles')        angle1 = resources['angle1']        angle2 = resources['angle2']        ......
        angle1 = params.get('angle1', angle1)        angle2 = params.get('angle2', angle2)        ......
        mycobot.send_angles([angle1,angle2,angle3,angle4,angle5,angle6], speed)
        return {'result': True, 'message': [angle1,angle2,angle3,angle4,angle5,angle6]}
exposed_thing.set_action_handler('sendAngles', sendAngle_action_handler)...Web サーバ部分の追加#
本サンプルでは、WoTPy の HTTP binding と WebSockets binding を使用しています。
最後に、それらのサーバ部分の追加を行います。
...    ws_server = WebsocketServer(port=WEBSOCKET_PORT)    http_server = HTTPServer(port=HTTP_PORT)
    servient = Servient(catalogue_port=CATALOGUE_PORT)    servient.add_server(ws_server)    servient.add_server(http_server)
wot = yield servient.start()...その他、省略した部分等はコード全体をこちらからご覧ください。
使用例#
Python コードを実行し、http://localhost:9090/ にて Thing Description のパスを確認しアクセス(http://localhost:9090/mycobot-...)します。
Thing Description でそれぞれ href で定義されているリンクへアクセスします。
本サンプルでは、API に対して curl などで、Protocol Bindings に従いアクセスします。
# Property 角度の取得$ curl http://<ip address>:9090/mycobot-.../property/angles{"value": {"angle1": -160.36, "angle2": 22.5, ...}}
# Action サーボモータの操作$ curl -X POST -d '{"input":{"angle1":-100, "angle2":100}}' -H 'content-type:application/json' http://<ip address>:9494/mycobot-.../action/sendangles{"invocation": "/invocation/..."}
# Action サーボモータのロックの解除$ curl -X POST -d '{"input":{"release":"True"}}' -H 'content-type:application/json' http://<ip address>:9494/mycobot-.../action/releaseservos{"invocation": "/invocation/..."}下記は、curl で myCobot のプロパティの読み取りとアクションを実行しているデモビデオです。